


This painting is a gentle exploration of layers, atmosphere, and the quiet unfolding of spring. We’ll begin with distant mountains and end in a soft, blossoming meadow. There’s no need for perfection—just presence, a brush, and a willingness to see what unfolds.
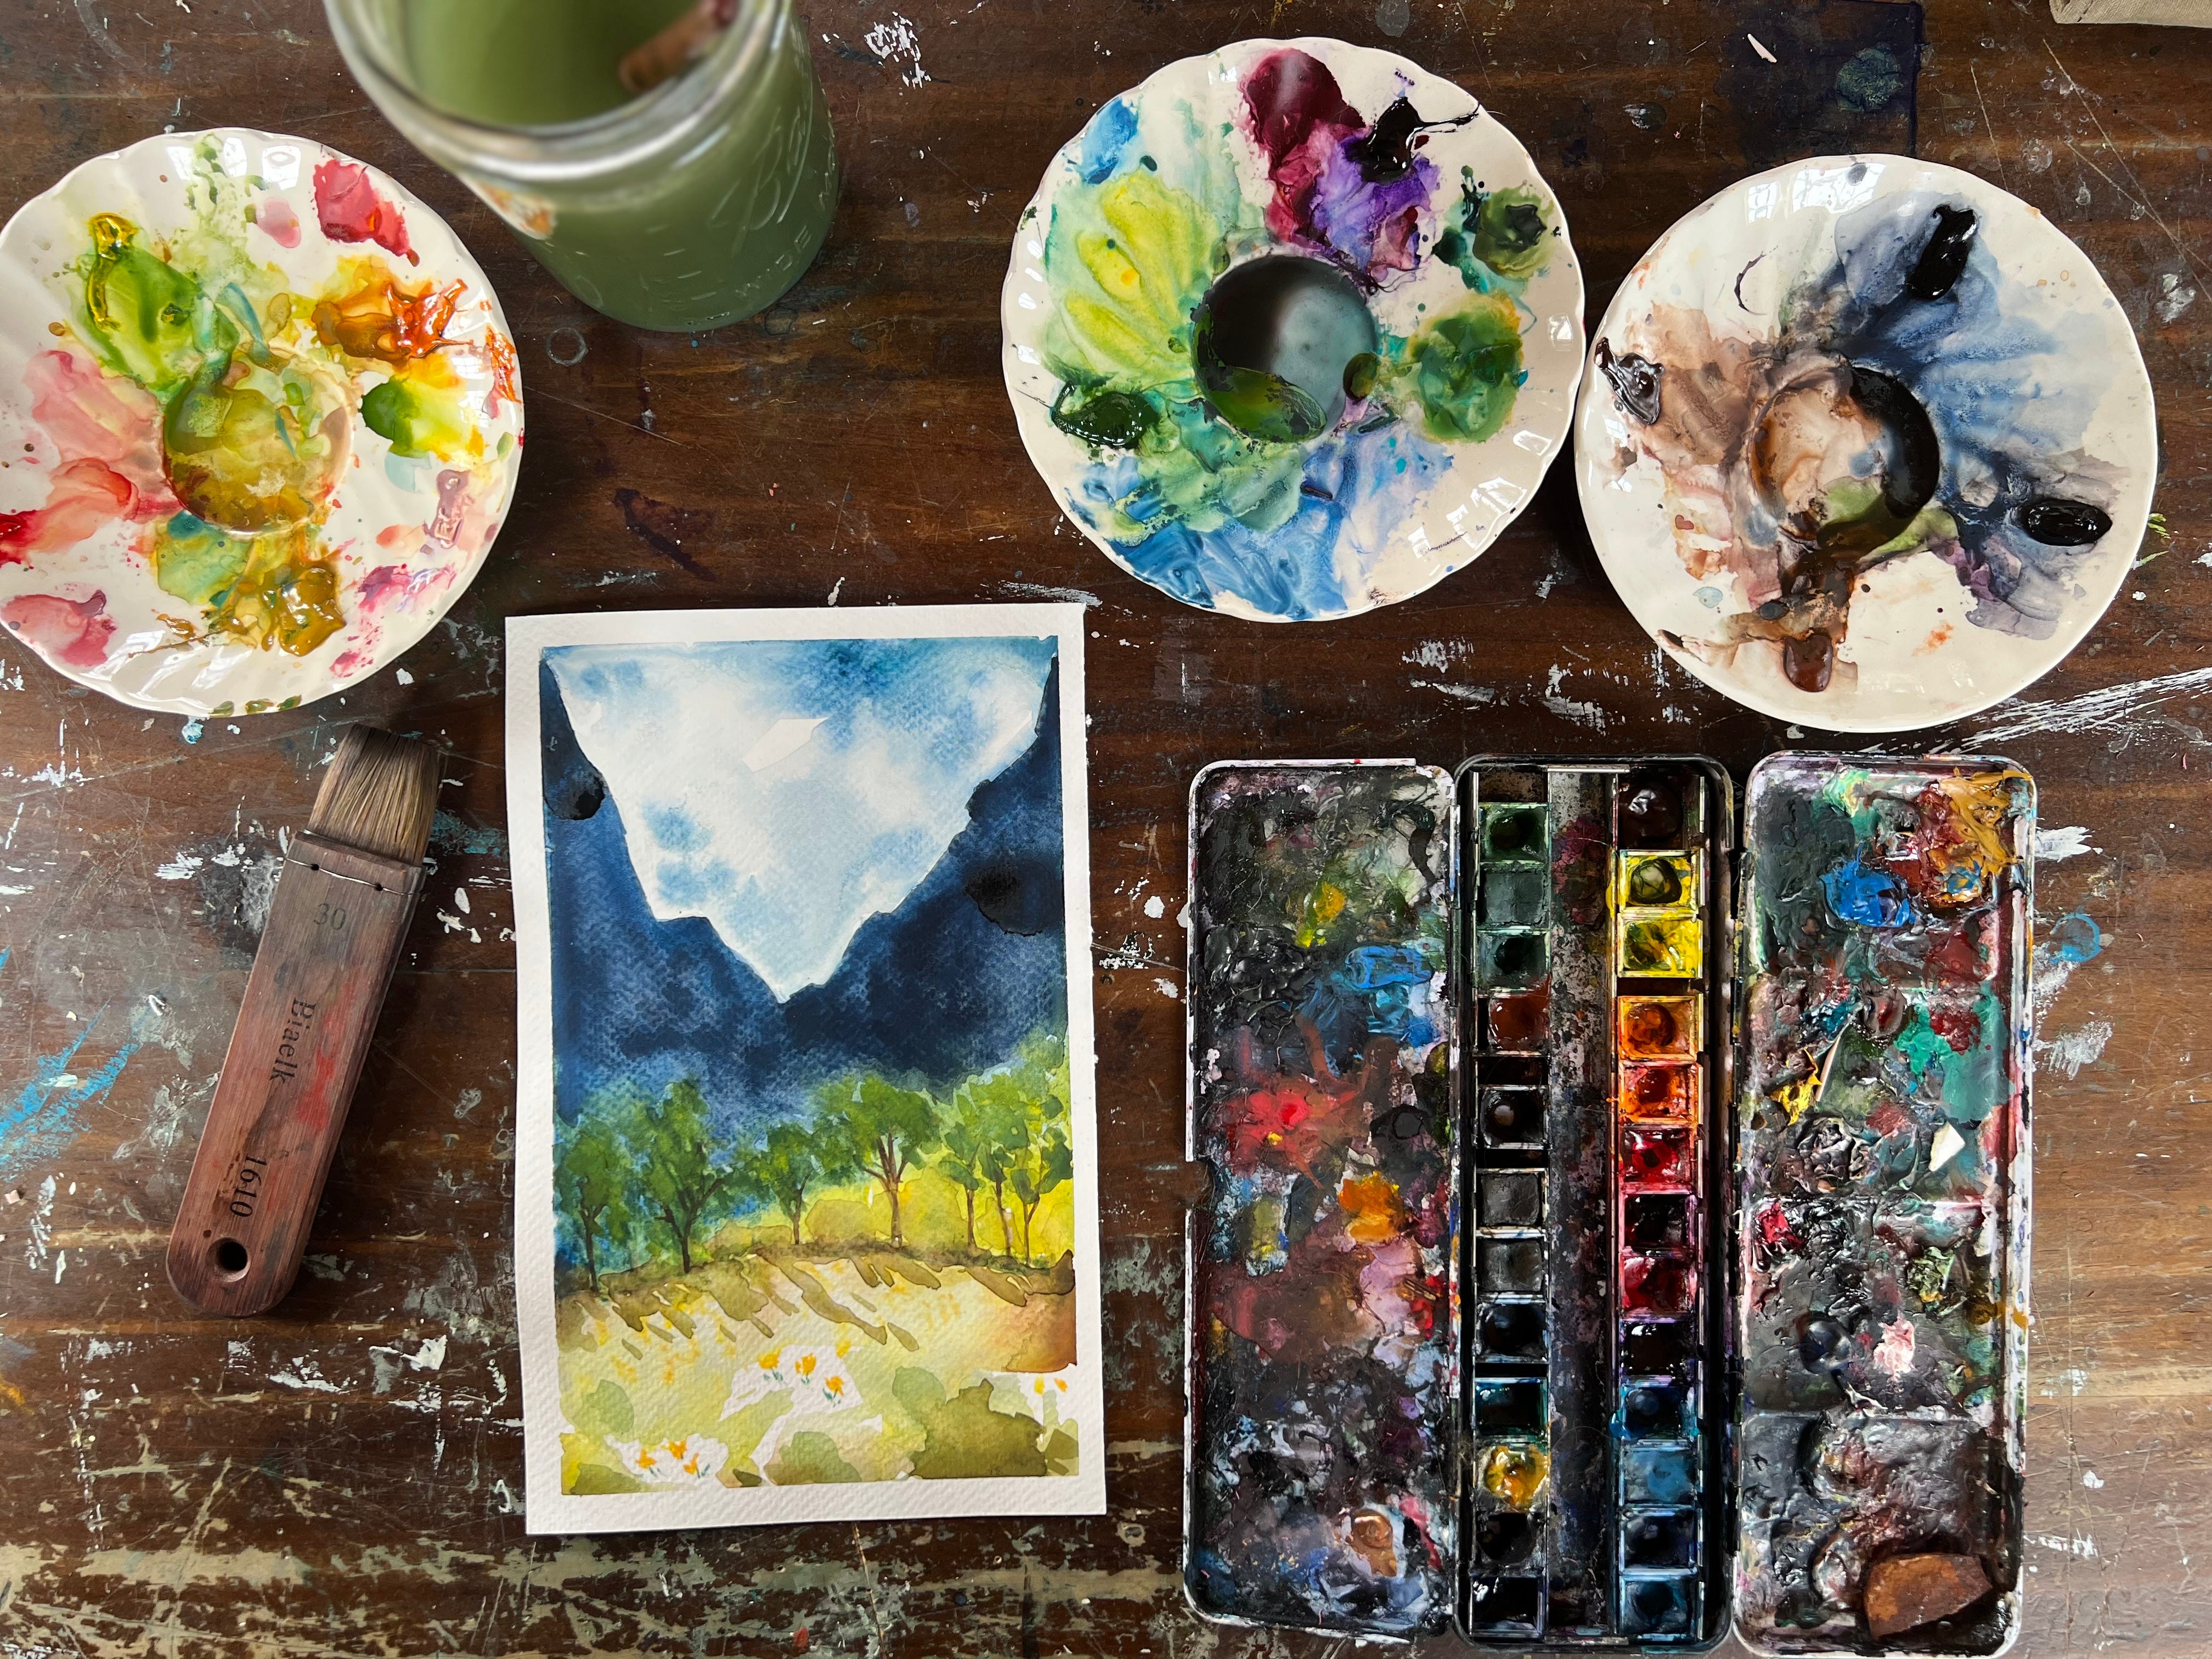
Materials
Watercolor paper (140 lb cold press recommended)
Watercolors (suggested colors: Payne’s gray, indigo, sap green, olive green, yellow ochre, burnt sienna, and a floral pink or lavender)
Round brushes in 3 sizes (small, medium, large)
A flat brush or mop brush for washes
Water, paper towel, and a mixing palette
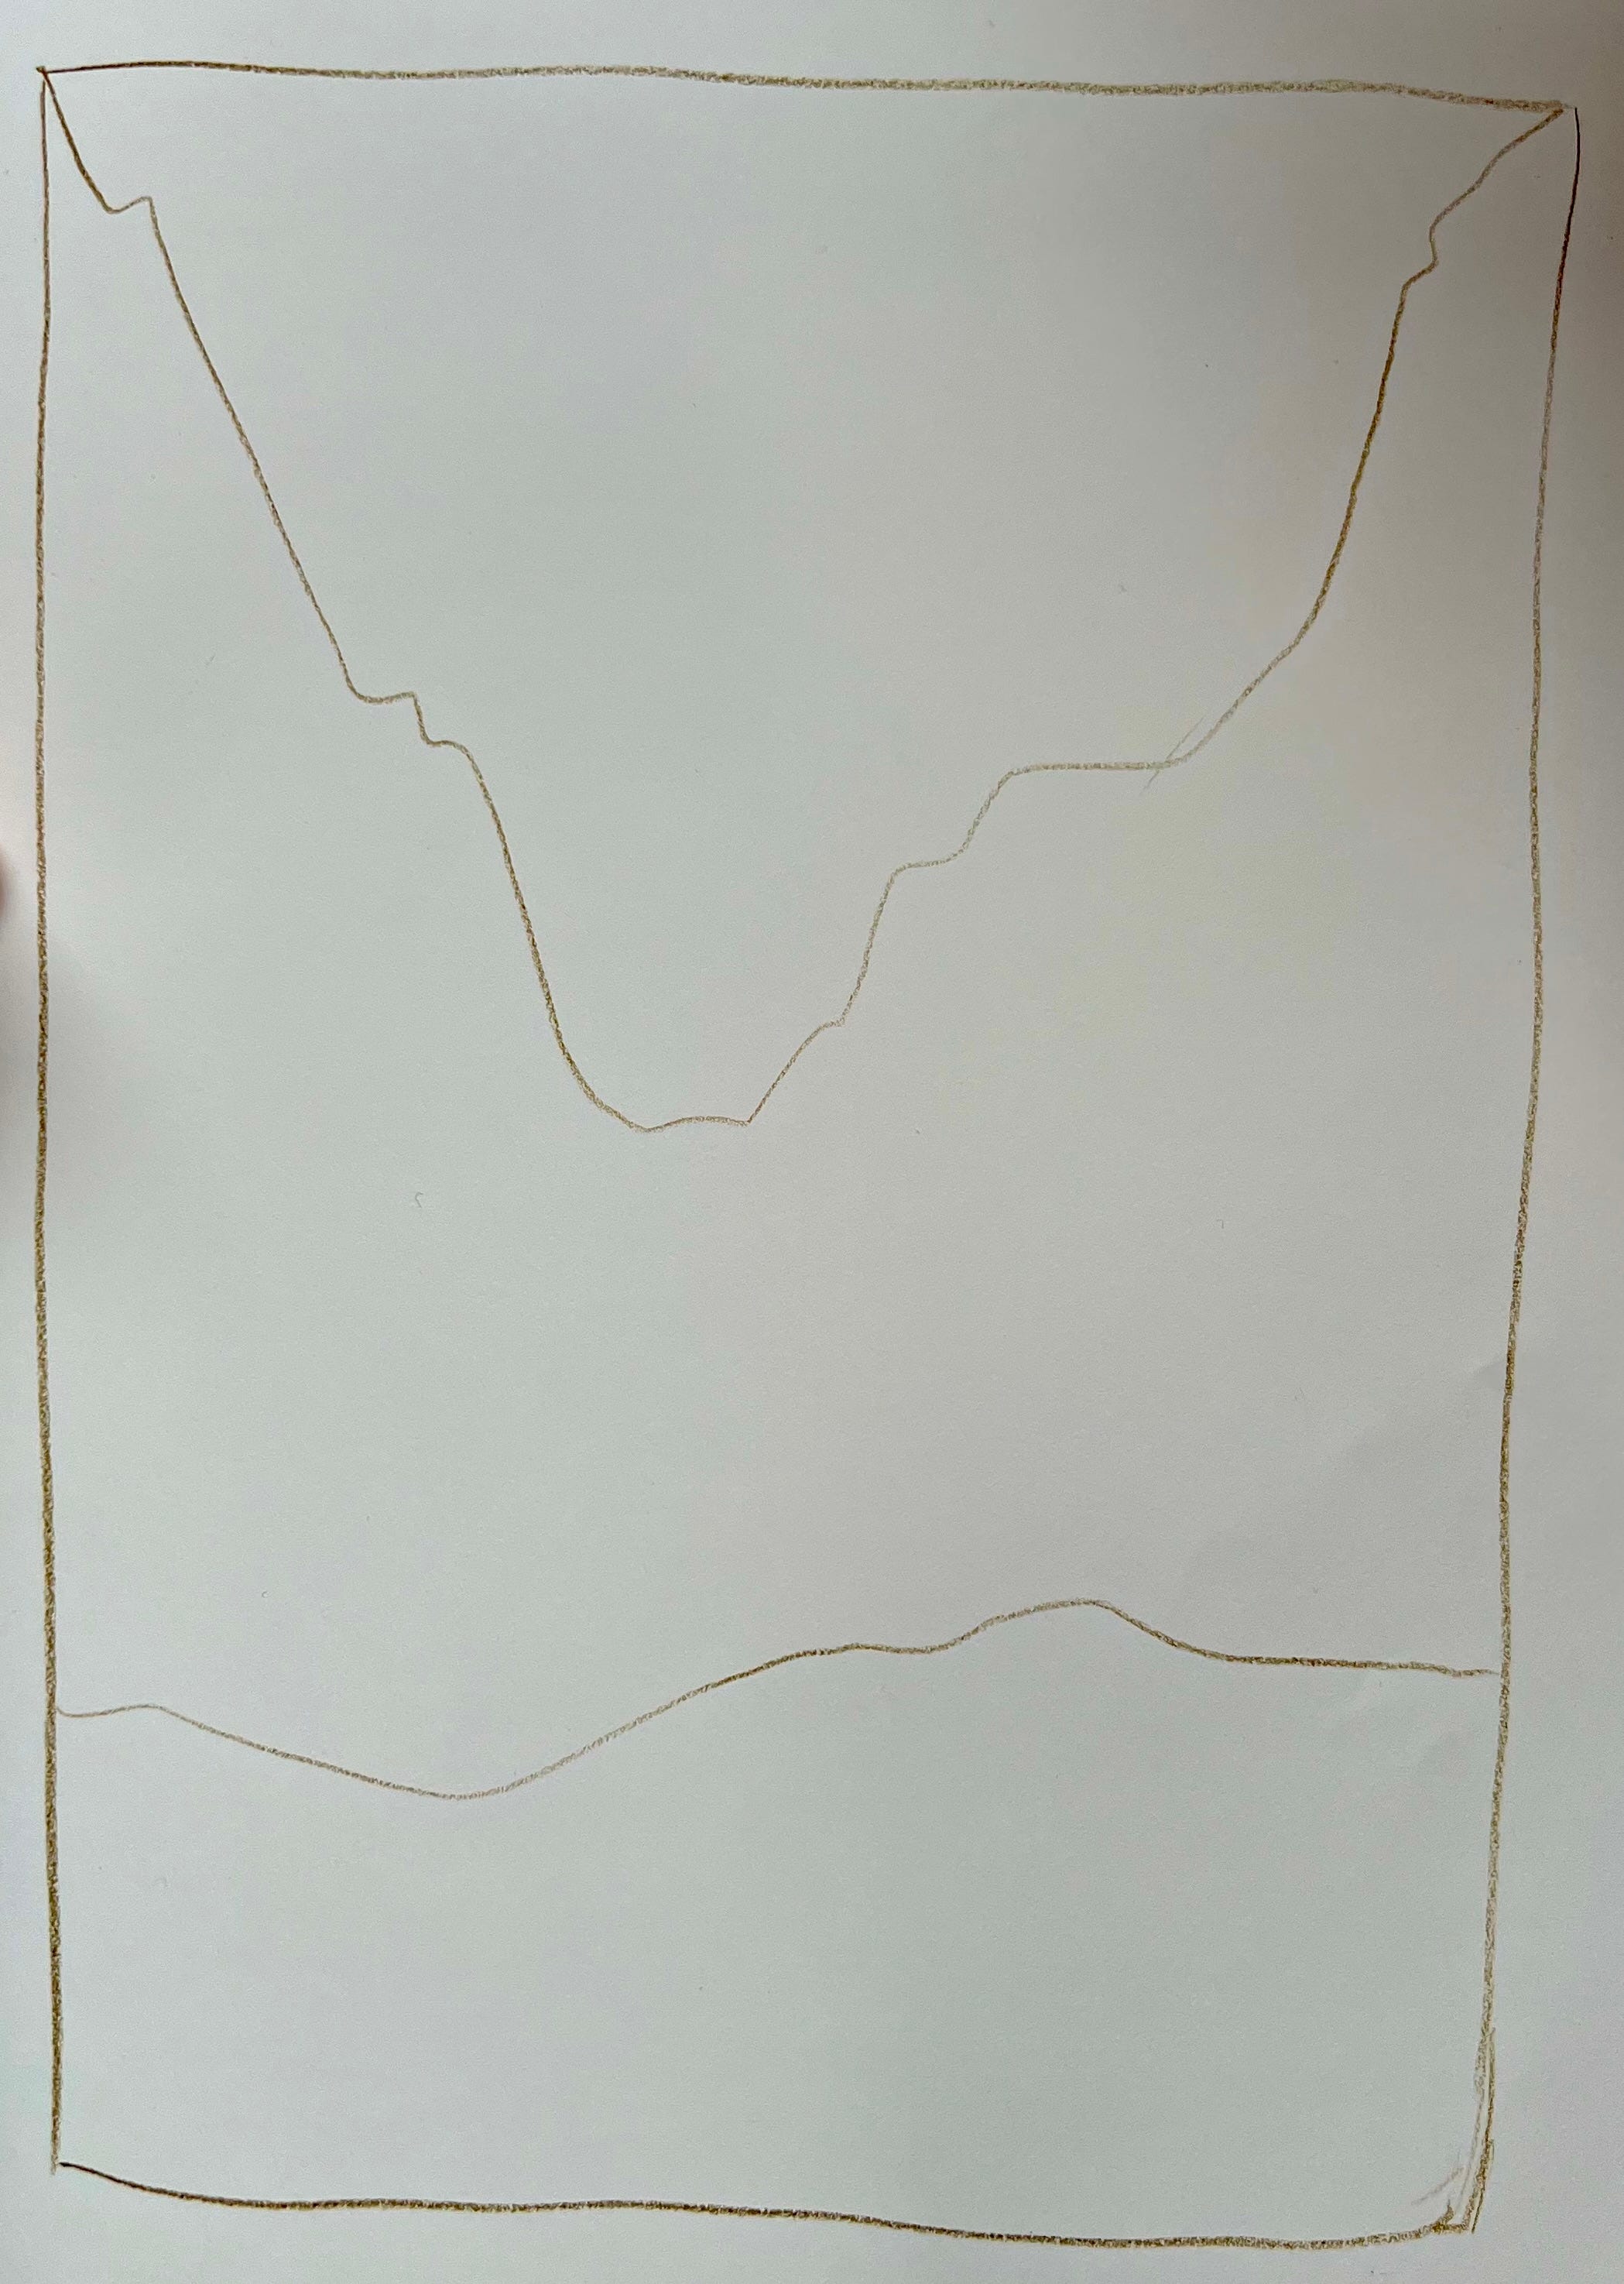
*Create your sketch/tape your paper down.
.
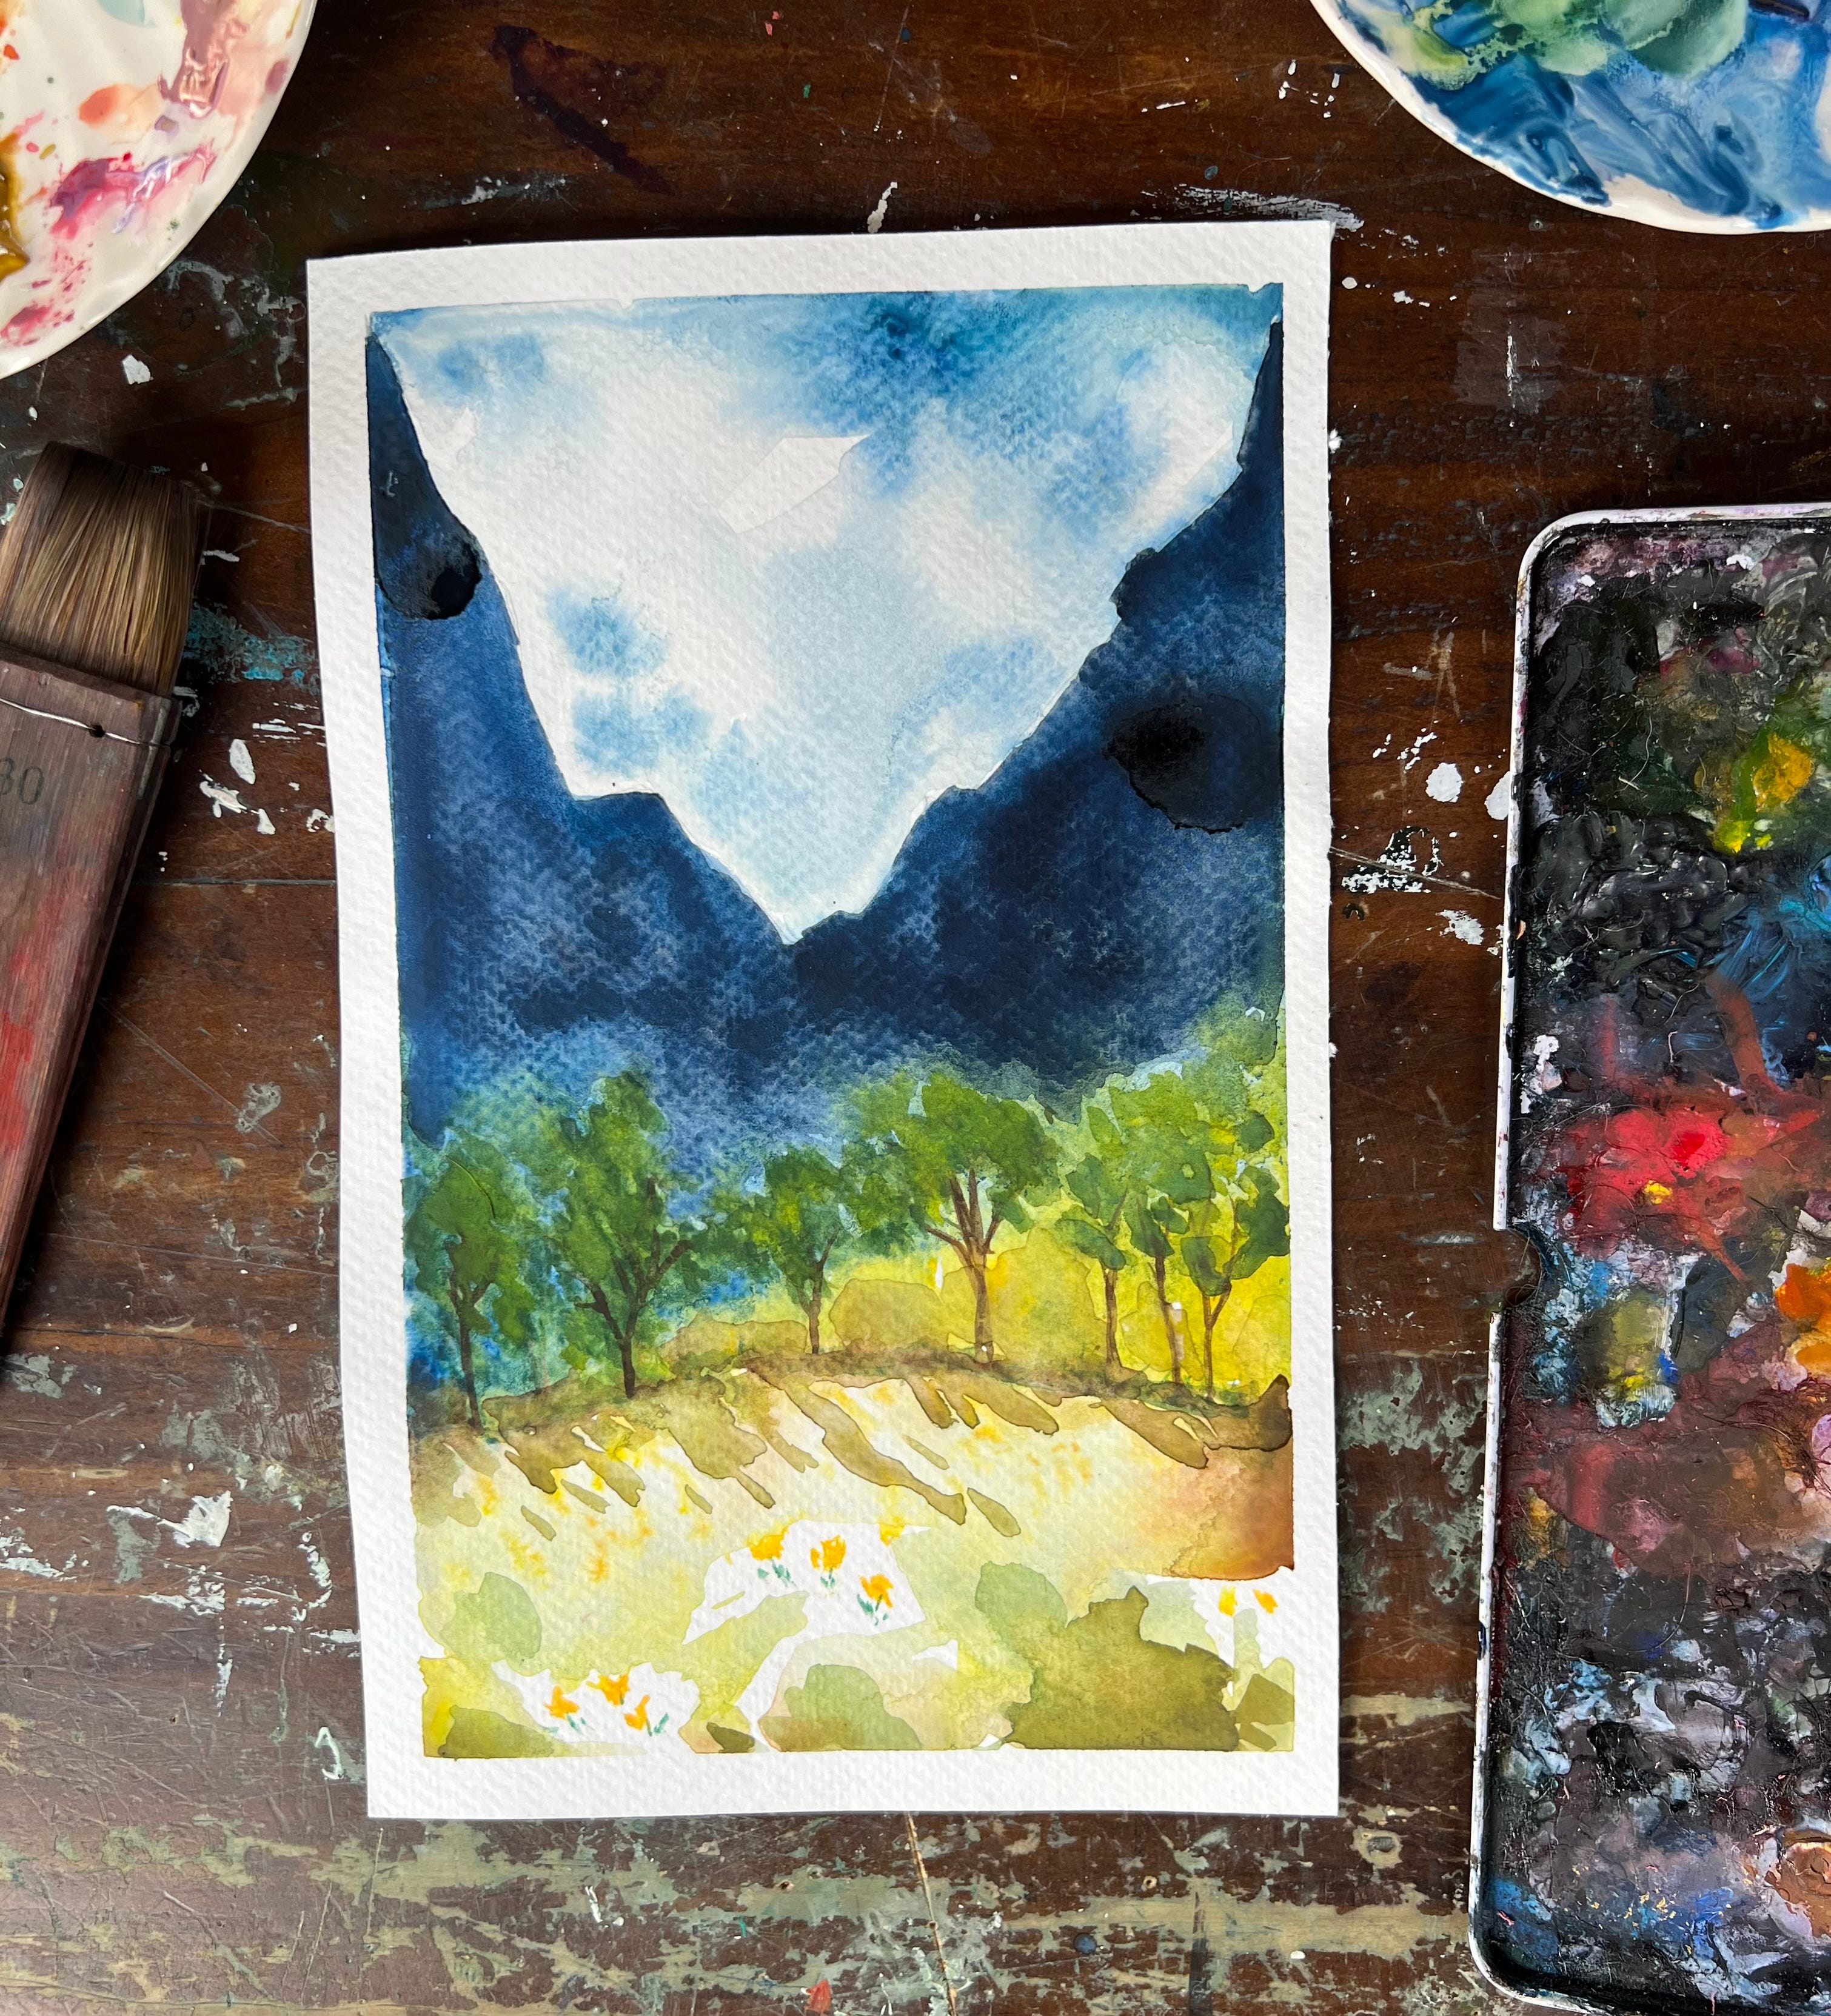
Step 1: Soft Sky and Distant Mountains
Wet the top third of your paper with clean water.
Drop in a diluted wash of Payne’s gray or a soft blue-gray for the sky. Keep it light and atmospheric.
Let it dry slightly, then begin painting the distant mountains using a slightly darker tone. Use soft, broken edges to create a misty feel. Let them dry before adding the next layer of mid-ground peaks.
Each mountain layer should get slightly darker and more detailed as you move forward in space. This creates depth.
Step 2: Treeline and Forest
Mix a rich green (sap green with a touch of Payne’s gray or indigo).
Using a small round brush, tap and lift to create tree shapes—tall evergreens with slight variation in height.
Start with lighter greens for trees in the background and deepen the color as you move forward. Use more pigment, less water for trees in the foreground.
Don’t worry about symmetry—let the trees be wild and varied.
Step 3: Create a Spring Meadow
Mix a fresh spring green (sap green with a little yellow ochre or lemon yellow). Wet the bottom portion of the painting and apply a light wash of this color. Let it blend softly into the tree line.
While still damp, tap in varied tones of green to suggest grass texture. Use a dry brush technique to drag color across the paper for a soft field effect.
Once dry, layer in small hints of wildflowers:
Use a small round brush or even a toothpick to dot in tiny pinks, purples, or yellows.
Keep them scattered and irregular—think “suggestion” rather than detail.
Optional: Add a tiny winding path or a hint of sunlight by lifting some color with a damp brush.
Step 4: Final Touches and Adjustments
Step back and notice where you’d like more contrast. Add another layer of trees if needed, darkening the base to ground the meadow.
Darkening the mountain if you wish.
Deepen shadows under the trees or in corners for balance.
If the meadow feels too flat, softly layer more green and flower tones to give it life.
Breathe. Enjoy. Sign your name.
**
Prompts for Journaling
What part of me needs sunlight?
What part of me is asking for quiet shade?
What am I learning from watching nature unfold at its own pace?
If I were a meadow, what wild things would grow in me?
What is the shape of stillness in my life right now? How can I make room for more of it?
What can I compost from this season of life?
What wants to transform into something new?
There’s no right or wrong here—just layers of light, softness, and color. Let each brushstroke be a quiet return to presence. Nature does not rush and neither must we.
If you paint this, I’d love to see your version. Each one blooms a little differently, just like spring itself.
Thank you for being here and helping to grow this creative space. Please share with others!
Char XXX
PS: All my watercolor tutorials can be found on Brush and Lens and Substack!

Share this post